The secret to lightning-fast editing isn't a fancy plugin or a beast of a computer. It starts way before you ever hit record. If you’re spending hours fixing things in your editor, you’re looking in the wrong place. The real time-saver is shifting your effort from post-production to pre-production.
Build a Foundation for a Faster Edit
Seriously, every minute you spend planning before you film can save you ten minutes of painful, tedious work in the editing chair. This is all about making smart choices upfront to avoid those common problems that bog you down later.
The pressure to create more, faster, is real. The video editing market is booming, expected to jump from $3.25 billion in 2024 to a staggering $4.83 billion by 2032. Why? Because 91% of businesses are all-in on video marketing. Yet, a pro editor can still spend 8 to 15 hours polishing a single minute of finished video. You can read more about the video editing market growth on snsinsider.com. You don't have that kind of time, so let's get smart about it.
Plan Your Cuts Before You Film
Think like an editor while you're still writing your script. Don't just write a wall of text. Instead, build your edit points right into the script itself.
- Script for B-Roll: As you write, pinpoint every opportunity to show what you're talking about. Literally write cues like
[Cut to screenshot of the analytics page]or[Show close-up of the microphone]into your document. This gives you a concrete B-roll shopping list, so you’re not hunting for visuals during the edit. - Write in Soundbites: Keep your sentences tight and impactful. This makes it a breeze to chop out the "ums" and "ahs" later, and you'll end up with punchy, shareable clips without creating weird, jarring jump cuts.
This kind of pre-visualization changes everything. Your edit stops being a confusing puzzle and starts feeling more like snapping LEGOs together.
Film for an Easier Edit
The way you shoot your footage directly impacts how fast you can edit it. The goal is to get it as close to perfect in the camera as possible. A few small habits here make a huge difference.
Here’s a classic trick: when you flub a line, don't just stop and start over. Pause for a couple of seconds, give a single, loud clap, and then re-do the line. That clap creates a massive, impossible-to-miss spike in your audio waveform.
When you're scanning your timeline, those audio spikes are like giant red flags marking every mistake. You can see exactly where the bad takes are and slice them out without having to listen to every single second of your raw footage. This is a game-changer.
Also, lock down your settings before you record. Set your focus, white balance, and exposure and don't touch them again. If your lighting or focus is all over the place, you're signing yourself up for the mind-numbing task of color-correcting and tweaking every individual clip. Get it right from the start, and you completely eliminate that entire chunk of work.
When you build this foundation, editing becomes about being creative and polishing your story, not just fixing mistakes.
Optimize Your Software and Workspace
There's nothing more frustrating than having your creative flow shattered by a lagging timeline. You make a cut, and then… you wait. And wait. The playback stutters, and your powerful editing software feels like it's wading through mud. The secret to staying in the zone isn't just about your editing skills; it's about making sure your tech isn't fighting you every step of the way.
The professional video editing software market is a giant, valued at $1.8 billion in 2024, with tools like Adobe Premiere Pro commanding a 35% market share. These programs are built for speed, but they can only work with what you give them. As you can learn from detailed stats on editing software, truly fast editors know how to optimize their setup before the first clip even hits the timeline.
This is all part of a connected workflow. What you do in the planning and filming stages directly impacts how quickly you can edit.
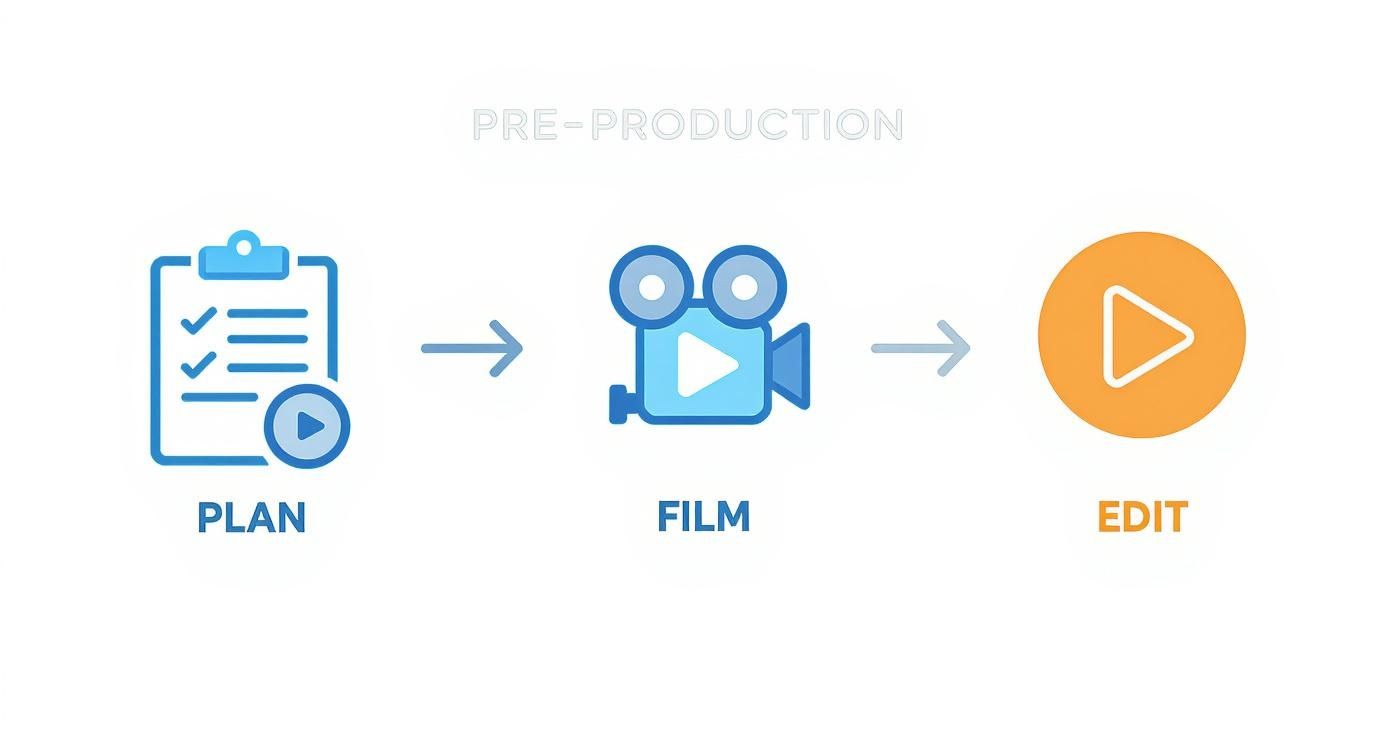
As the diagram shows, editing is the final piece of the puzzle. A smooth editing process is the result of a solid plan and a clean shoot.
Use Video Proxies for Smooth Playback
Ever tried scrubbing through 4K footage only to watch your computer have a complete meltdown? That choppy, frustrating playback happens because your machine is struggling to process massive video files in real time. The solution is simple and incredibly effective: video proxies.
A proxy is just a smaller, low-resolution copy of your original high-quality footage. Your editing software uses these lightweight stand-ins during the edit, which means you get smooth, real-time playback no matter how massive your source files are. When you're done and ready to export, the software cleverly swaps the proxies out and links back to the original full-quality files. You get a perfect, high-res final video with none of the headaches.
Think of it like a chef prepping ingredients. You don't bring the whole 50-pound bag of flour to your station; you take a small, manageable bowl. Proxies are that small bowl—easy to work with without sacrificing the final result.
For anyone serious about editing efficiently, especially with modern camera footage, creating proxies is non-negotiable. Most professional software like Premiere Pro or DaVinci Resolve can create them for you in the background with just a couple of clicks.
Let's look at a practical example of how much time proxies can save. The difference is stark, especially when you factor in all the micro-waits for rendering and playback that add up over a project.
Manual Editing vs Proxy Workflow Time Savings
| Editing Task | Time with Native 4K Footage | Time with Proxy Workflow | Estimated Time Saved |
|---|---|---|---|
| Scrubbing & Culling (1-hr of footage) | 30-40 minutes (with lag/stuttering) | 15-20 minutes (smooth playback) | ~15-20 minutes |
| Multi-cam Sync & Editing | 25-35 minutes (frequent hangs) | 10-15 minutes (real-time changes) | ~15-20 minutes |
| Applying Basic Effects/Color | 15-20 minutes (slow render previews) | 5-10 minutes (instant feedback) | ~10 minutes |
| Total Project Time (per hour of raw footage) | ~70-95 minutes | ~30-45 minutes | ~40-50 minutes |
The numbers speak for themselves. By front-loading a small amount of time to create proxies, you can slash your active editing time nearly in half, not to mention save yourself a massive amount of frustration.
Build Templates and Presets
How much time do you waste on repetitive setup for every single video? Creating the same folders, importing the same logo, setting up the same timeline settings... it's a silent time-killer. This is where templates come in.
A project template is a pre-built project file that has all your standard elements ready to go. You just open it, save a new version, and get to work.
Your template should include:
- Your standard folder structure: Bins for Raw Footage, Audio, Graphics, Sequences, etc.
- Branding assets: Your intro, outro, logos, and lower-third graphics are already imported and waiting for you.
- Sequence presets: Have timelines already configured for your most common formats, like a 16:9 YouTube preset and a 9:16 Shorts/Reels preset.
Starting every project from a template can easily save you 15-20 minutes of tedious setup right off the bat. It lets you dive straight into the creative work and keeps your projects consistently organized, making it way easier to find what you need later on. A clean workspace is the first step to a fast workflow.
4. Master Shortcuts and Batch Your Tasks
If you’re still clicking your way through an edit, you’re leaving a massive amount of speed on the table. Seriously. Relying on your mouse to navigate a complex timeline is like trying to paint a house with a toothbrush—it’s slow, tedious, and just plain inefficient. The single biggest leap in editing speed comes from one simple change: getting your hands off the mouse and onto the keyboard.
Every professional NLE, from Premiere Pro to DaVinci Resolve and Final Cut Pro, is built for keyboard-driven editing. Learning the core shortcuts isn’t just a nice little trick; it’s the entire foundation of a fast workflow. Commands for ripple edits, jumping between edit points, and setting in-and-out markers can turn what used to be a ten-minute slog into a two-minute breeze.
Just look at the keyboard layout editor in your software. It’s a visual map showing you exactly how much power is right at your fingertips.
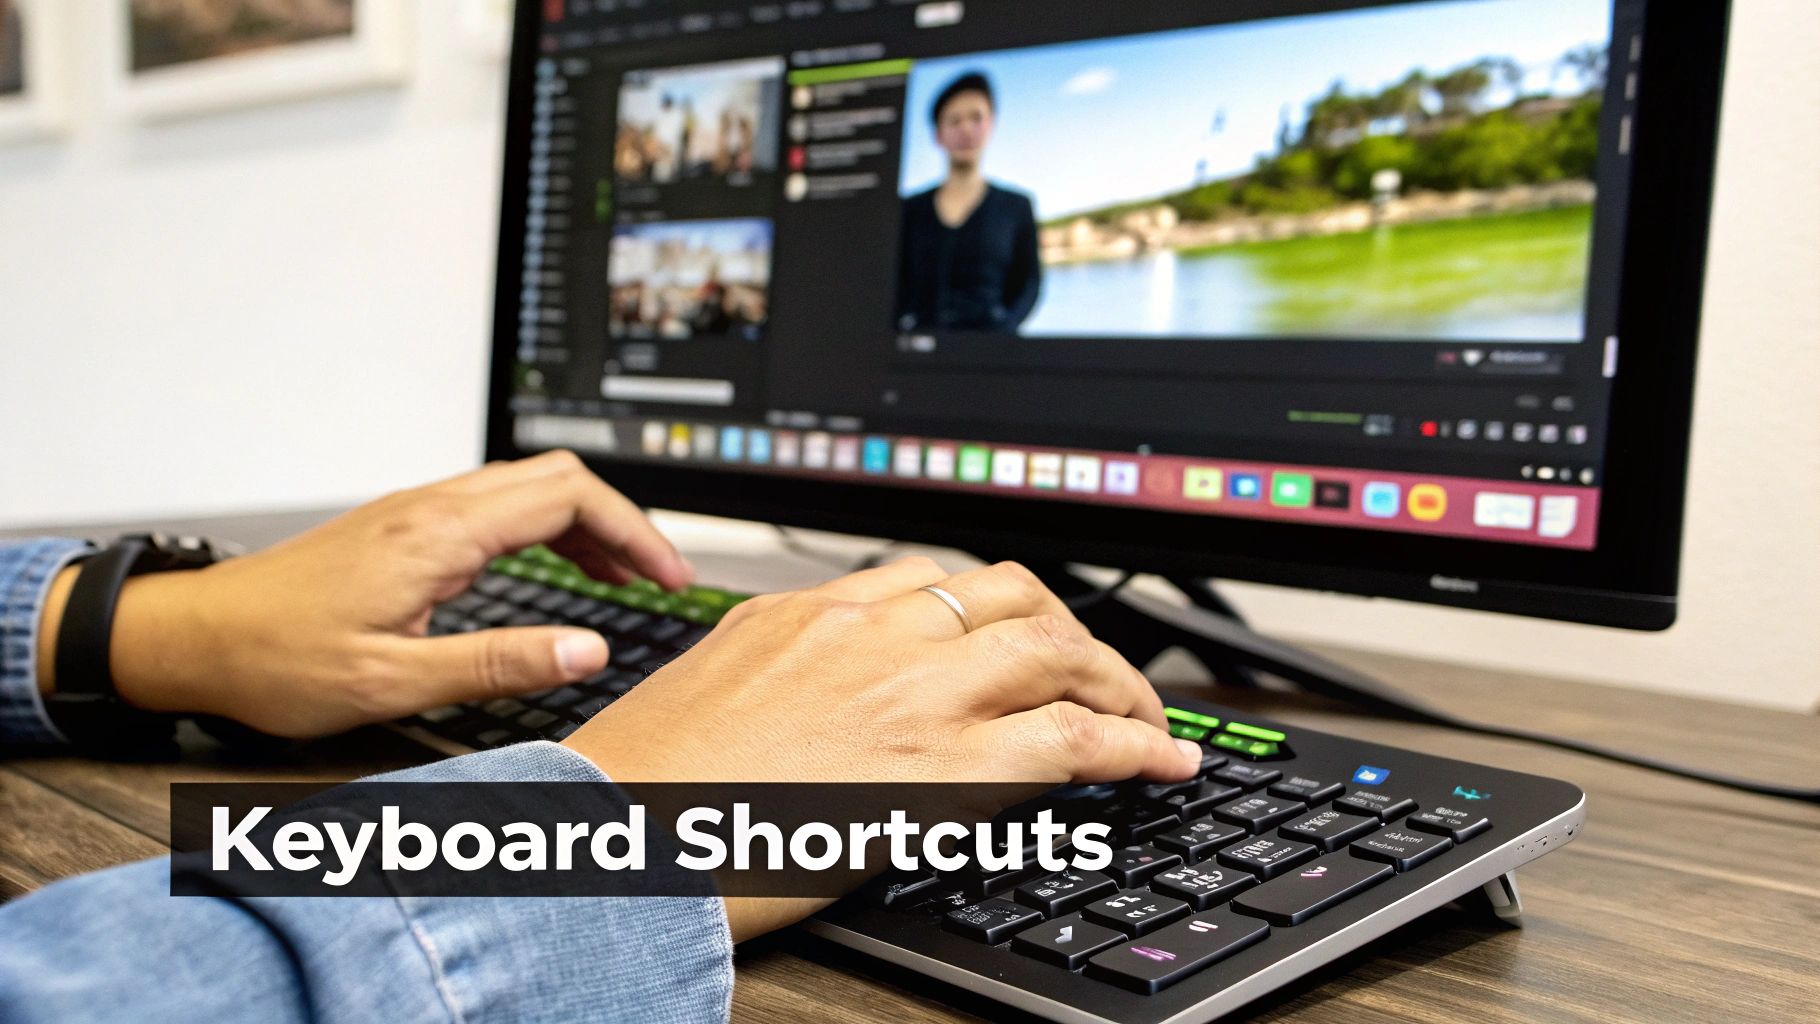
You don't need to learn all 200+ of them at once. Building muscle memory for just ten essential shortcuts can easily shave 20-30% off your total editing time. That's a huge win.
The Magic of Batching Your Tasks
Beyond the physical mechanics, your mental workflow is just as important. Are you trimming a clip, then searching for a sound effect, then tweaking the color, then back to trimming another clip? That’s called context-switching, and it’s a productivity killer. It drains your focus and slows you down.
This is where task batching changes the game. Think of it as an assembly line for your video. You group all similar tasks together and knock them out in dedicated, focused sessions. This keeps you in a state of flow and makes the entire process feel less chaotic.
Stop editing your video chronologically from start to finish. Instead, break it down into passes. Do all your rough cuts first. Then, do a pass just for color correction. After that, another one just for the audio mix. This assembly-line approach is how the pros work.
Customizing Shortcuts for Your Workflow
Once you’ve got the basics down, it’s time to level up by creating your own shortcuts. Pay close attention to the repetitive actions you take that don't have a simple, one-key command.
Do you constantly add the same transition? Apply the same audio filter to every clip? Nest sequences over and over? Dive into your editor’s keyboard settings and assign custom hotkeys to these tasks. You could map a key to "Apply Default Audio Transition" or "Add Lumetri Color," saving yourself countless clicks over the course of a project.
Here’s a simple batching workflow you can try right now:
- The Rough Cut: First, go through all your raw footage and just make the basic cuts. Get the story down on the timeline. Don't worry about perfection; just get the pacing right.
- Visuals Pass: Next, lay in all your B-roll, lower thirds, and any on-screen graphics.
- Color & Audio Pass: Now, do a dedicated pass only for color grading. Once that’s done, do another one solely for audio mixing and sound design. Treat them as completely separate stages.
- Final Polish: Lastly, watch the whole thing through one more time to catch any tiny mistakes or make final tweaks.
By combining custom shortcuts with a batching mindset, you’re not just editing faster—you’re editing smarter. You’re building a repeatable, efficient system that lets you focus on what really matters: telling a great story.
Lean on AI and Automation
If you really want to see a massive jump in your editing speed, you have to look beyond just manual tricks. The biggest time-saver these days comes from intelligent automation. Think about it: instead of just working faster, you can hand off the most boring, repetitive tasks to software. This isn't about letting a robot take your job; it's about giving yourself editing superpowers.
This whole space is blowing up. The AI video editing market is expected to jump from $0.9 billion in 2023 to a staggering $4.4 billion by 2033. A huge part of that is transcription tech, which is now hitting up to 94% accuracy. This accuracy is what lets you edit video just by editing a text document—a totally different way of thinking about your workflow. You can dig into more of these game-changing video editing statistics on gudsho.com.

Edit with Text, Not Just Timelines
Picture this: your hour-long recording gets transcribed automatically in just a few minutes. Instead of endlessly scrubbing through the timeline to find that one phrase you stumbled over, you just hit Ctrl+F in the transcript, find the sentence, and hit delete. Gone. The corresponding video and audio are instantly snipped from your timeline.
This is the magic of text-based video editing, and for anyone creating talking-head content, it completely changes the game.
Suddenly, you can blast through a rough cut by simply reading your script. You can clean up mistakes, cut entire paragraphs, and rearrange your talking points in about the same time it would take you to watch the footage through once. It’s an incredibly intuitive way to get the core edit done fast.
Automatically Nuke Silences and Filler Words
Let’s be honest, one of the most soul-crushing parts of editing is hunting down every awkward pause, every "um," and every "ah." It's tedious work that adds zero creative value and can eat up hours of your life.
This is where automation tools really shine. A platform like Tubentum, for instance, is built specifically to solve this problem. It analyzes your entire video and can perform a bunch of crucial cleanup tasks with a single click:
- Trims Silences: It finds all those dead-air gaps that kill your pacing and snips them out.
- Cuts Filler Words: The software is smart enough to find and remove filler sounds like "ums" and "ahs" without making the cuts feel jarring.
- Deletes Repeated Takes: You know when you repeat a sentence three times to get it right? It can spot those retakes and automatically keep the best one.
By letting a tool handle the "cleanup," you get back hours on every single video. This means you can jump straight into the fun, creative parts—like adding B-roll or polishing your story—instead of getting bogged down in mind-numbing micro-edits.
Let AI Handle Captions and Basic Polishing
Beyond the rough cut, AI can take over other essential but time-sucking jobs. Auto-captioning is the perfect example. Creating accurate, time-synced subtitles used to be a specialized task. Now, it's often a one-click process that saves a ridiculous amount of time.
Many tools are also adding AI features for basic color correction and audio sweetening. These "auto-fix" buttons can quickly balance exposure, pull out background noise, and even out your audio levels in seconds. Sure, they won't replace a detailed, manual grade or a professional audio mix, but they can get your footage 80% of the way there instantly. It gives you a clean, professional-looking base to build on, shaving even more time off your entire workflow.
Know When and How to Outsource Your Edit
Sooner or later, you'll hit a point where the best way to speed up your editing is to stop doing it yourself. It’s true. For a lot of creators, editing is the single biggest bottleneck holding them back from creating more content.
When you realize you're spending more time staring at a timeline than you are planning your next video, that's your cue. It’s time to think about outsourcing. This isn't about giving up control—it's a smart business move.
Think about your opportunity cost. If an hour of editing could have been spent recording two new videos or landing a sponsorship deal, then editing yourself is actually costing you money. That tipping point is different for everyone, but spotting it is the key to scaling up without burning out.
Preparing for a Seamless Handoff
Just dumping a folder of raw files on an editor and hoping for the best is a surefire way to get a video you hate. A successful handoff is all about clear communication and being organized from the get-go.
When you prep a project properly, you’re not just helping the editor—you’re helping yourself. It ensures you get the video you imagined and saves you money on endless, frustrating revisions. Before you even start looking for someone, get your digital house in order.
A solid handoff package really comes down to three things:
-
A Clear Editing Brief: This is your vision on paper. It should spell out the video's goal, who it's for, and the overall vibe you're after. Include links to other videos you like. Be specific about pacing—do you want quick, energetic cuts, or a more laid-back, conversational style?
-
Logically Organized Assets: Set up a main folder in Google Drive or Dropbox with a clean subfolder system. Name them something obvious like
01_A-Roll,02_B-Roll,03_Audio, and04_Graphics. This alone stops your editor from wasting billable hours just trying to find a file. -
Time-Stamped Feedback: When you get the first draft back, give precise notes. Instead of "make the intro more exciting," write something like
0:15 - Can we add a faster sound effect here?or1:22 - Cut this sentence, it feels repetitive.Actionable feedback like this kills the guesswork and makes revisions a breeze.
Think of yourself as the project's producer. Your job is to give the editor everything they need to knock it out of the park without a ton of back-and-forth. The more organized you are upfront, the faster and cheaper the whole process becomes.
At the end of the day, outsourcing isn't just about handing off a task. It's about buying back your most valuable resource: your time. By creating a killer handoff system, you empower an editor to work efficiently, which frees you up to focus on the things only you can do. This is a massive step in learning how to speed up video editing like a pro.
Frequently Asked Questions
Even when you've got a great workflow humming along, questions always come up. Here are some of the most common ones I hear from creators who are trying to get their editing time down.
What’s the Single Biggest Time-Saver for a New Video Editor?
If you're just starting out, the absolute best thing you can do is learn your foundational keyboard shortcuts. I'm talking about the basics: cutting, ripple deleting, undoing, and zipping around the timeline without ever reaching for your mouse.
Getting away from a click-heavy process builds muscle memory, and it’s a game-changer. Seriously, this one habit alone can easily slash your editing time by 30-50%. The more you do it, the more natural it becomes, and the faster you get.
Is It Worth Upgrading My Computer to Edit Faster?
A new rig can definitely speed things up, but only if your current hardware is actually what's holding you back. If you’re dealing with constant lag, painful render times, or your software is always crashing, then yes, an upgrade will make a world of difference.
If you do decide to upgrade, here’s where to put your money:
- CPU: This is the brain of the operation. A faster CPU means your editing software just runs better, especially with complex effects.
- GPU: Your graphics card is the key to smooth playback and faster rendering, particularly if you're working with high-resolution footage.
- RAM: Think of RAM as your computer's short-term memory. More of it means you can work with bigger files and run other apps without everything grinding to a halt.
But hold on. Before you drop thousands on a new machine, make sure you've squeezed every bit of performance out of your software. Things like using video proxies or clearing your media cache can often solve major performance headaches for free. Always try the software fixes first.
How Can I Find My Best Takes Without Watching All the Footage?
This is a classic time-sink. The best trick is to give yourself cues while you're still recording. It saves you from having to scrub through tons of unusable footage later.
A simple technique is to "mark" your good takes right after you nail a line. Just cover the lens with your hand for a second or give a single loud clap. When you pull that footage into your editor, you'll see a big dark spot or a sharp spike in the audio waveform on your timeline.
These markers act like visual signposts, letting you jump straight to the gold. You can start editing the good stuff immediately instead of wasting time watching all the outtakes.
Ready to stop wasting hours on the most tedious parts of your edit? Tubentum auto-edits your talking head videos in a single click, automatically removing silences, filler words, and repeated takes while creating engaging hooks. Reclaim your time and focus on what you do best—creating. Try it today at tubentum.com.
Article created using Outrank